I feel like my posts are incredibly predictable, based on the season. I'm either telling you how much I love the chill or I'm complaining about the heat and gravy-like humidity that Queensland so graciously brings to six months of the year. We're within the latter.
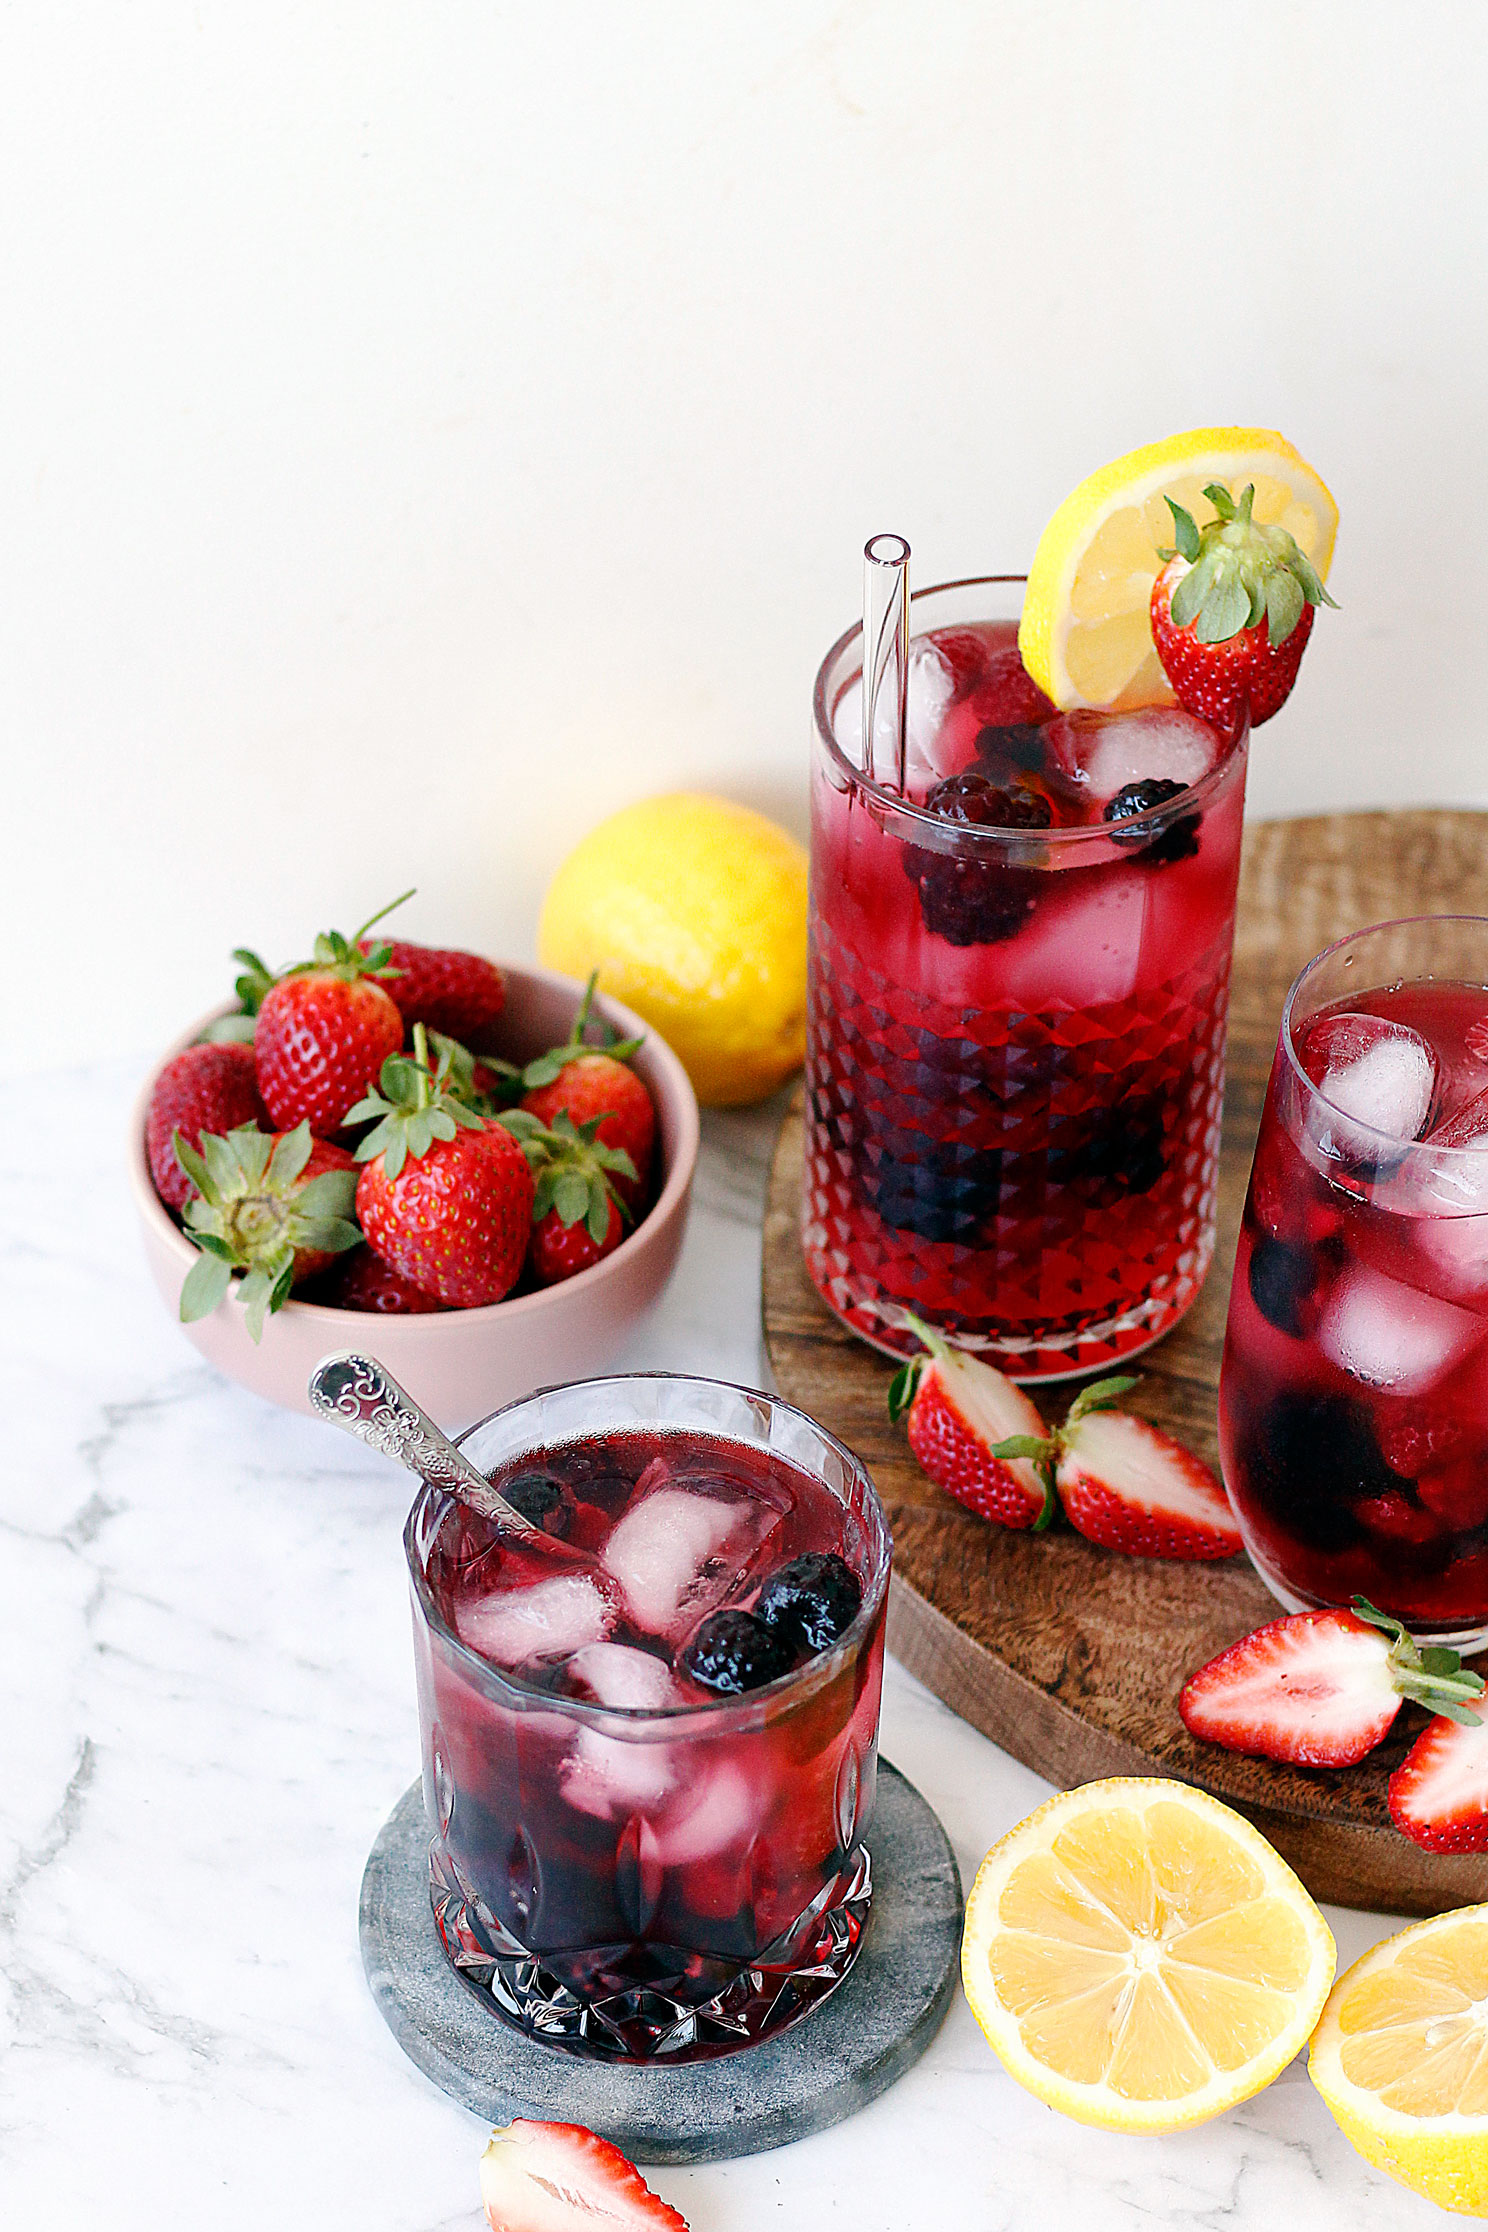
It's Spring, but it's not really. Seems as though we've missed the memo here and just skipped right over the warm sunny days with light breezes. Since mid-October, we're right in the midst of 'sweat right after you've stepped out of the shower' type warmth. So I'm already needing to employ tactics to rapidly cool down my body temperature. Mostly this involves freezing wet hand towels to place over my forehead, or taking 16 showers a day, but I've also replaced my excessive tea drinking, with iced tea.
And so here we are.
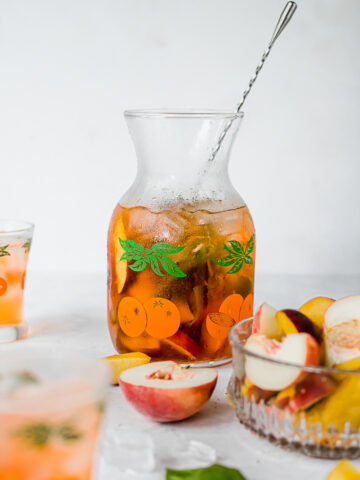
I love making iced tea as an alternative beverage to alcohol when friends come over. It is incredibly easy to make - really just a putting-together of a few ingredients - and you've got a refreshing drink to sip. I used Natvia for this recipe, to sweeten it up a bit. In general, I do prefer hibiscus tea with a touch of sweetness, but of course, it is personal preference completely. You can also replace the Natvia with sugar if you'd like.

Hibiscus Iced Tea
- Prep Time: 5 minutes
- Total Time: 5 minutes
- Yield: 1 litres 1x
- Category: Drinks
Ingredients
- 3 hibiscus tea bags
- 3-4 teaspoon Natvia natural sweetener
- 1 cup boiling water
- 5 cups cold water
- 1 cup coconut milk (, optional)
- Fresh berries (, to serve)
Instructions
- In a jug, place tea bags and Natvia. Pour over one cup of boiling water and stir until Natvia has completely dissolved.
- Add five cups of cold water and stir. Place into the fridge for at least four hours or overnight until chilled completely.
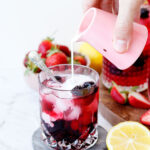
- Serve over ice with fresh berries. Add in a splash of coconut milk to create hibiscus milk tea.
Notes
If using loose leaf tea, use approximately two and a half tablespoons.
Let me see all of your food creations and delicious snaps by using the hashtag #eatnik on your photos!
This recipe is sponsored by Natvia




Leave a comment